Ysterhout Dot Net
 Replacing the Hornady Pro-Jector Priming Tube
Replacing a Primer Tube Assembly
Accolades
Detractions
Finale
Replacing the Hornady Pro-Jector Priming Tube
Replacing a Primer Tube Assembly
Accolades
Detractions
Finale
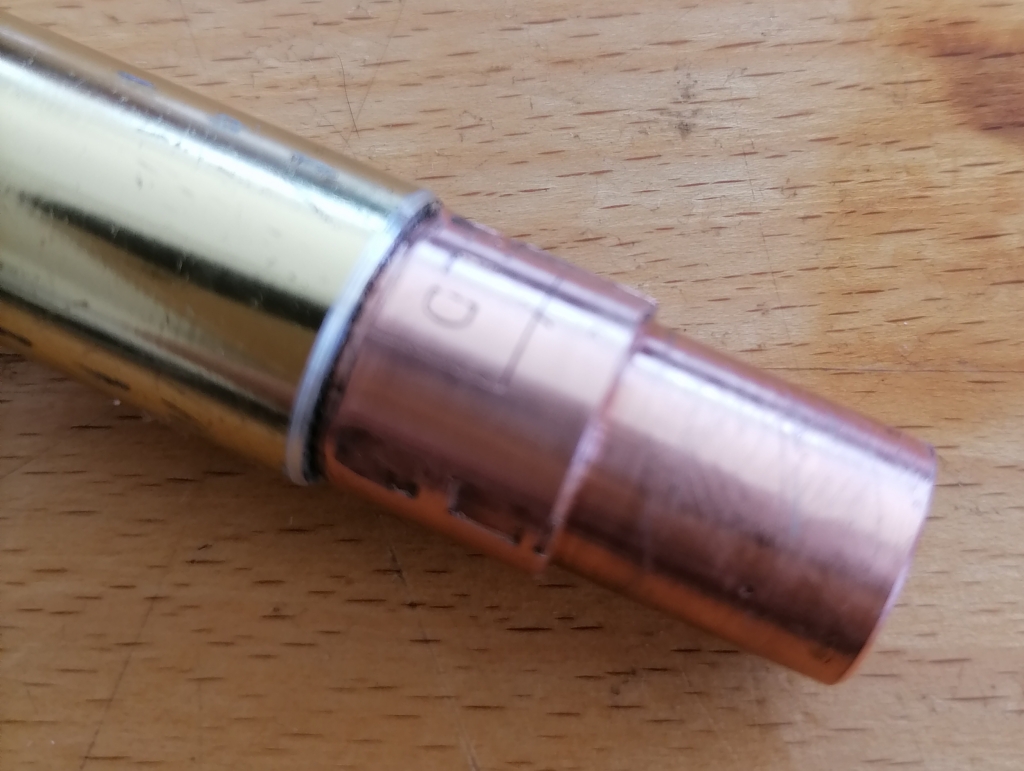
This is the original part.
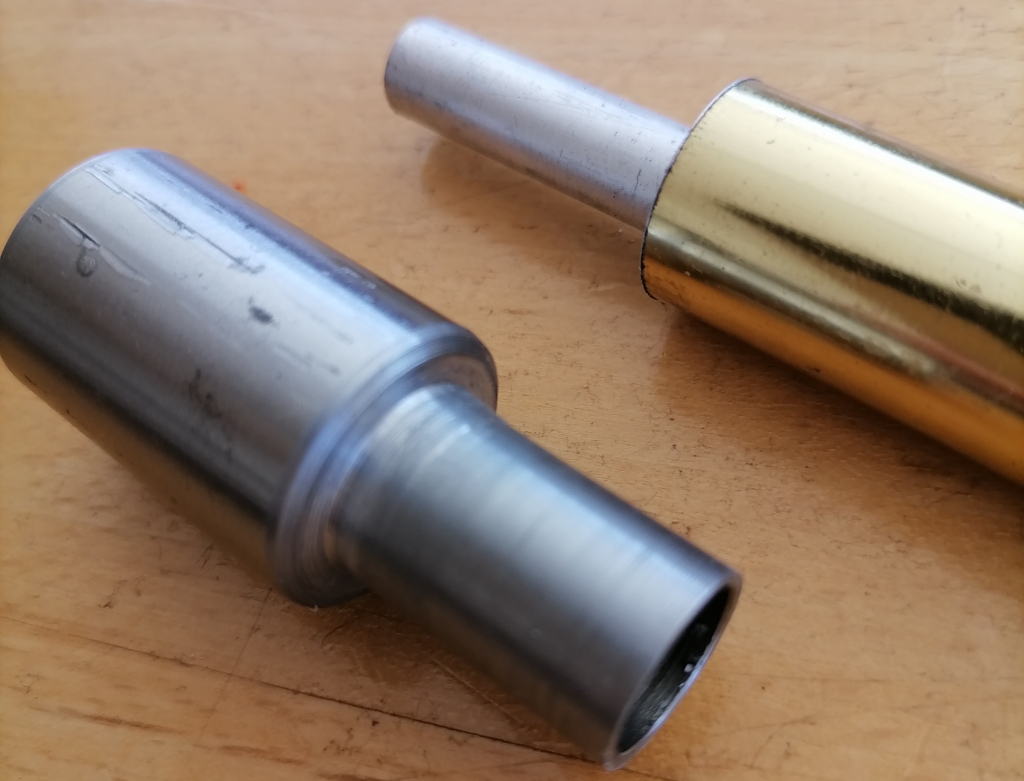
This is the replacement.
To make a primer spring, a 0.4 mm feeler gauge was used, which is the closest thing on hand to spring steel. A 3mm bolt with a few nuts is fited to the feeler gauge hole, adjusted to keep the stacked primers in place. A hose clamp holds it to the tube housing. The feeler gauge needs to be shaped to fit the primer block.
On top is the original primer tube housing, shown below a Lock-n-Load primer tube.
Below that is the part made to replace it.
There are many ways to get the same result, this is just one way from bits and pieces that were already on hand.
You will need
- a steel or aluminium tube for the primer tube housing - to replace part number 050045.
- a Hornady Lock-n-Load primer tube
- metal bar stock to make an adapter to hold the primer tube in the tube housing at the primer assembly body - to replace part number 190005
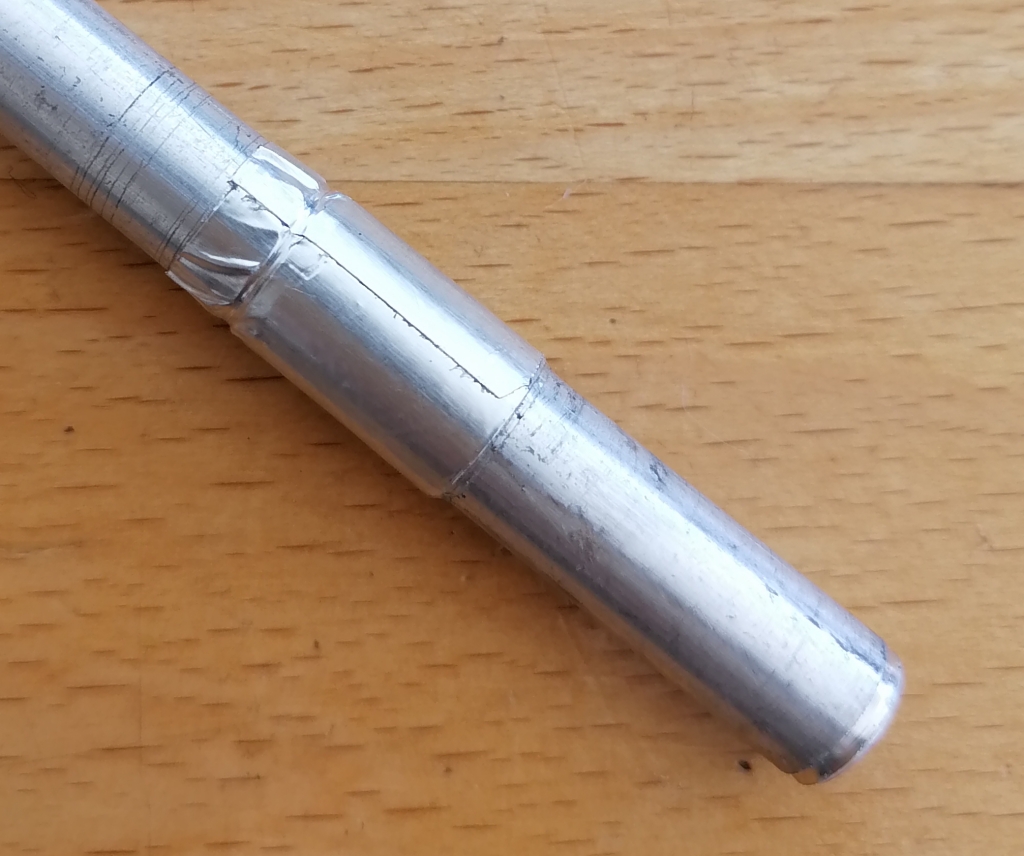
- metal bar stock to make an adapter to hold the top of the primer tube centered in the tube housing
- some electrical tape
- a piece of spring steel sheet to make a replacement for part number 392456.
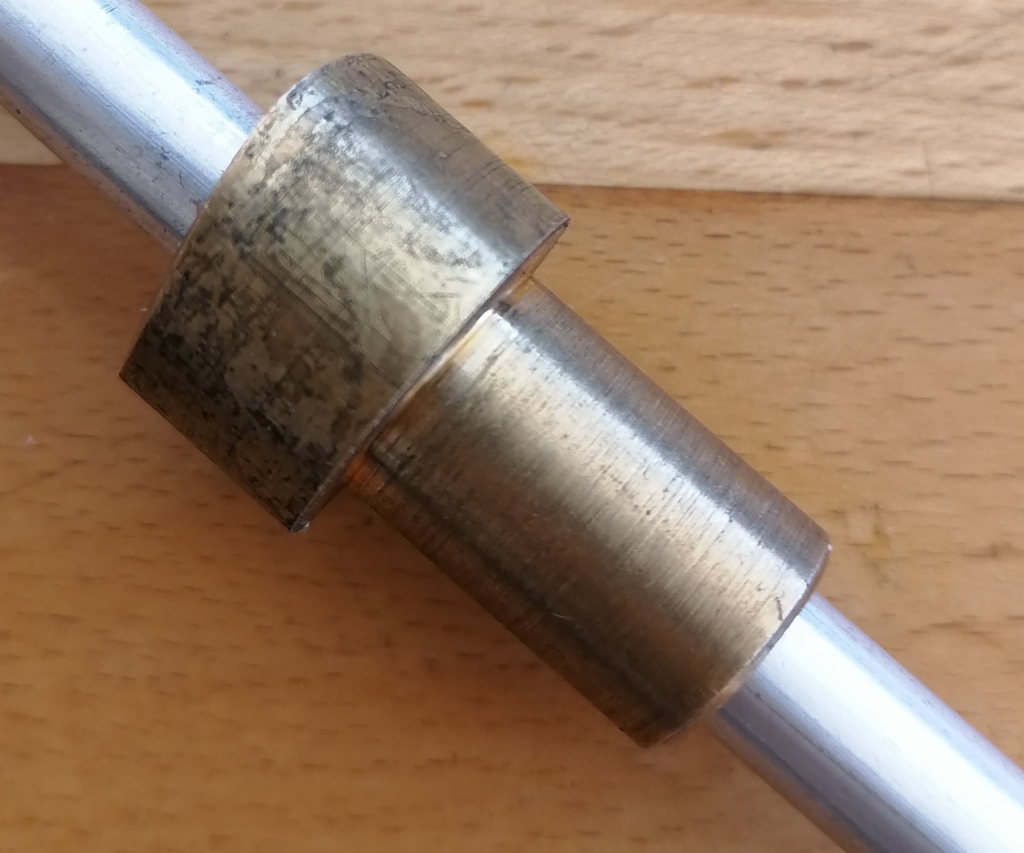
My tube housing replacement was an offcut piece of curtain rail. The diameter and thickness of the tube is not critical. The outer tube needs to house an 8mm primer tube. The primer tube will be held centered in the housing by the machined adapters. You'll make the adapters fit whatever tube you have to the priming body and the priming tube. To make the tube primer housing adapter for the primer tube, I used an acetyline torch nozzle, machined to size and drilled through to 8mm . This was machined to press fit into the tube housing.

A piece of silver steel bar was machined and drilled to fit the primer tube to the top of the new tube housing.
One of brass was made for the original tube housing.
A piece of tape was wound at the correct point on the Hornady primer tube, to keep the primer tube at the right height in the tube housing. Replacement tubes for the new Lock-n-Load can be used.
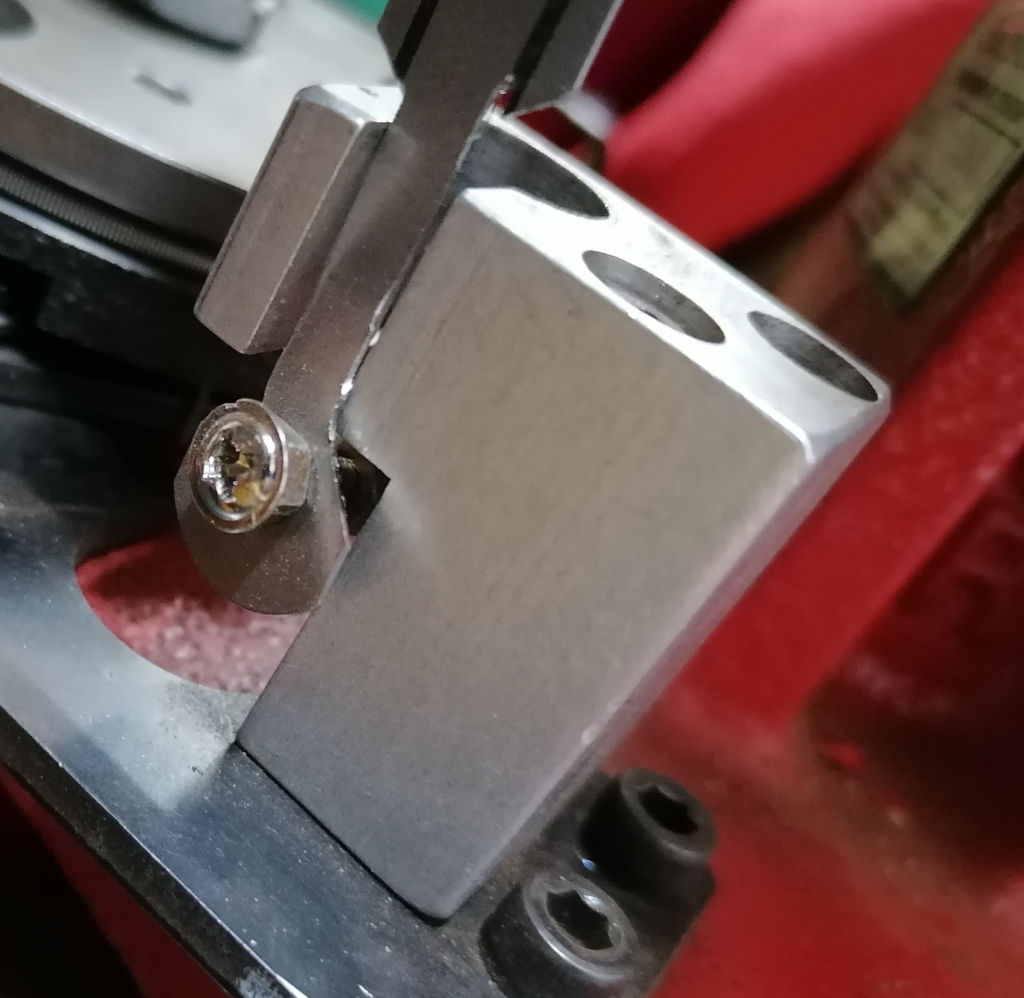
When fitted, the movement of the spring must clear the gap in the primer block.
Nothing terribly complicated, all well within the capability of the average hobbyist.
Primers held back by the replacement primer spring.
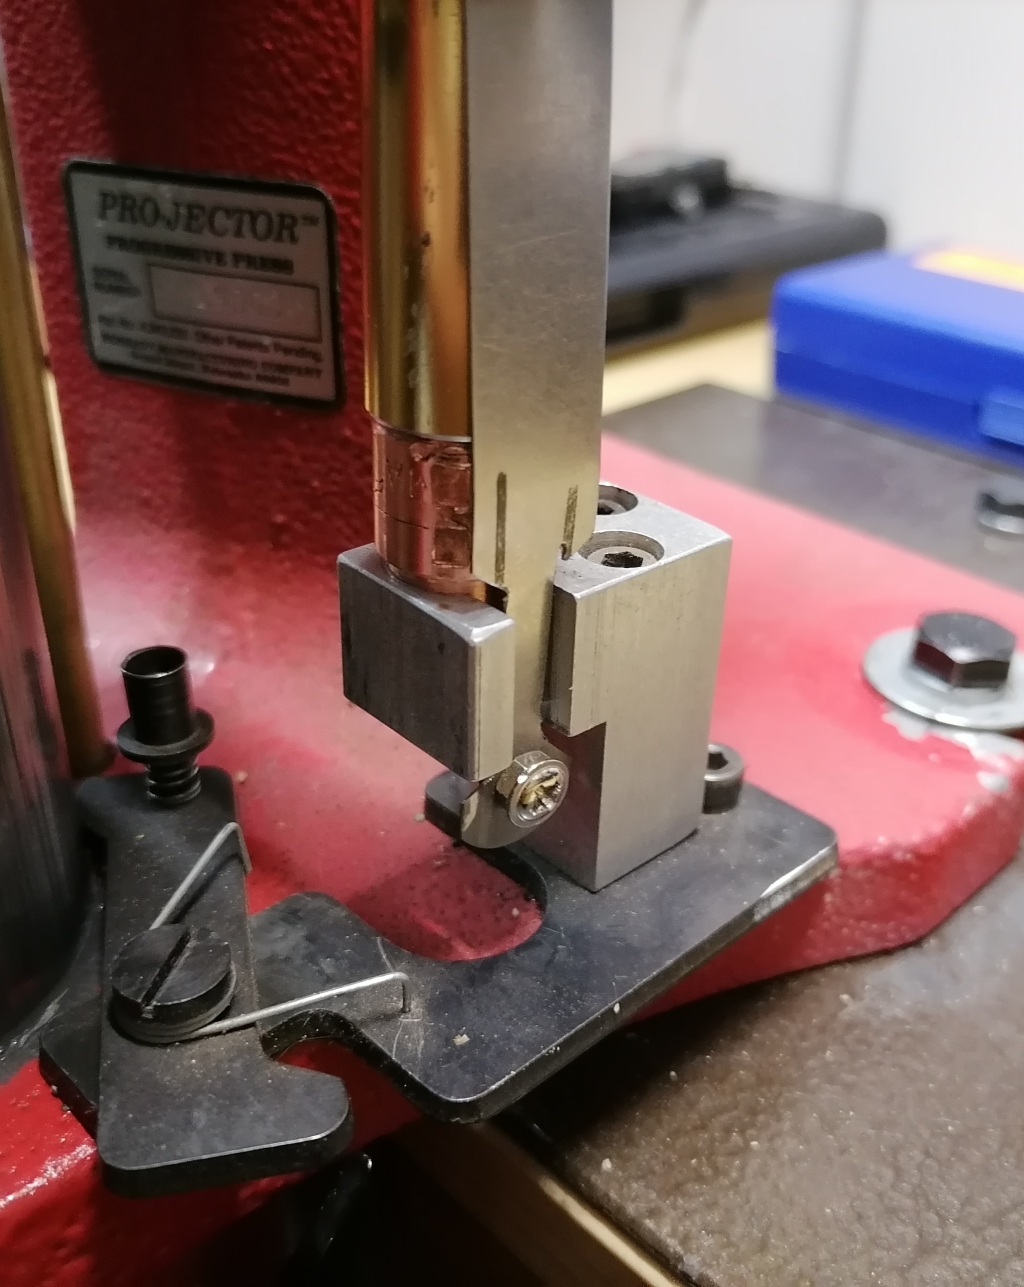
The primer dispense activated by the priming arm.

The top of the primer punch should be the same height as the top of the protrusion on the primer spring, and this is easily adjusted by loosening the hose clamp, sliding the primer spring into position, and tightening up again.
The aluminium block which is the primer assembly body can bend a little at it's thin section, loosening the fit to the tube housing. A bit of a squeeze with pliers resets it.
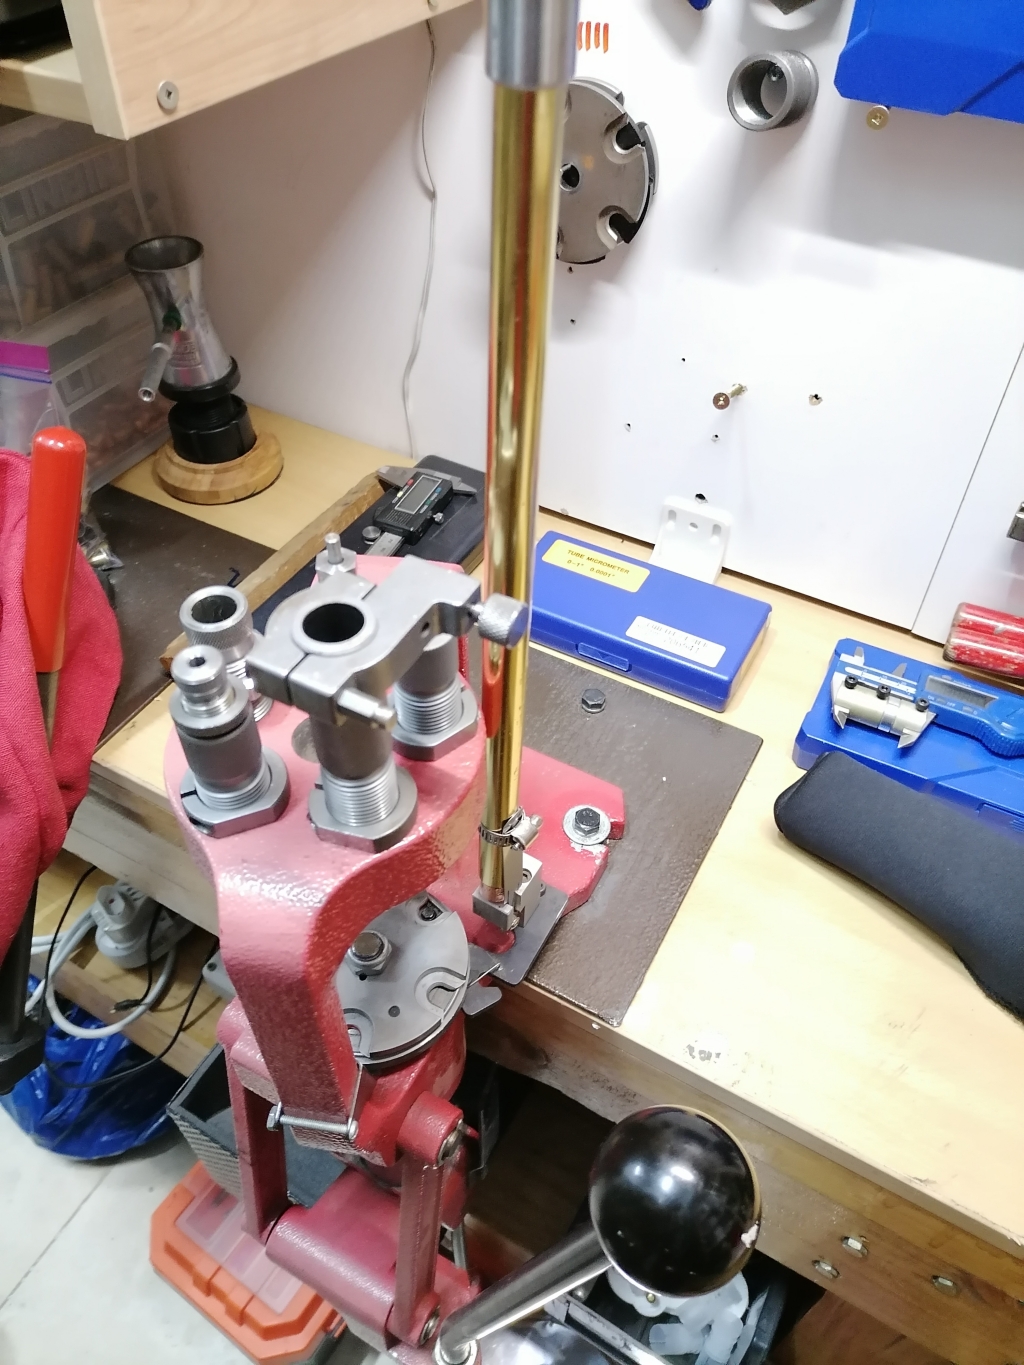
A press with the replacement primer tube assembly.
In the case where you are missing the primer punch, it can easily be made on a mini lathe from a bolt with the correct thread for the primer arm, and a spring. The primer cup is straight-forward to machine on a mini lathe.
This replacement spring assembly does not need to exert much force. The amount of force exerted by the spring just needs to be enough to follow the primer cup as it moves away from the primer column, and block the primer tube so the primers don't fall out.
Replacing the Hornady Pro-Jector Priming Tube
Replacing a Primer Tube Assembly
Accolades
Detractions
Finale
