Ysterhout Dot Net
First, inspect the primer cup. Test the primer fit by placing a primer in the primer cup. If it fits properly, you have eliminated an abvious problem - a bent primer cup will not allow a primer to drop into it from the drop tube. If it is bent, you can straighten it by carefully press fitting the correct size gauge pin into the cup. If the cup is missing, or damaged, it's simple to make on a mini lathe.
The primer arm of the Pro-Jector describes an arc with the primer punch. The end points of the arc are beneath the shellplate, and beneath the primer tube.
The adjustments here are fine, and critical, and I believe the reason why people were so quick to strip the priming assembly from their Pro-Jector. These parts were made by hand, as they are not identical between presses, and each press has to be adjusted to compensate for the tolerance in the parts. This is also why changing from large primers to small was a PITA. Everything has to be checked and possibly re-adjusted when you do that.
I expect that the user was left to tune this priming assembly for their situation, and is the reason why the whole tube assembly was mostly just removed from the press, and brass primed seperately. A noticable absence from used Pro-Jector presses today are those priming tubes, indicating that the original owners removed them, and eventually forgot where they put them.
If you are missing the priming tubes, you can easily replace them with a normal Hornady primer tube, and some home made parts described here - Replacing the Hornady Pro-Jector Priming Tube .
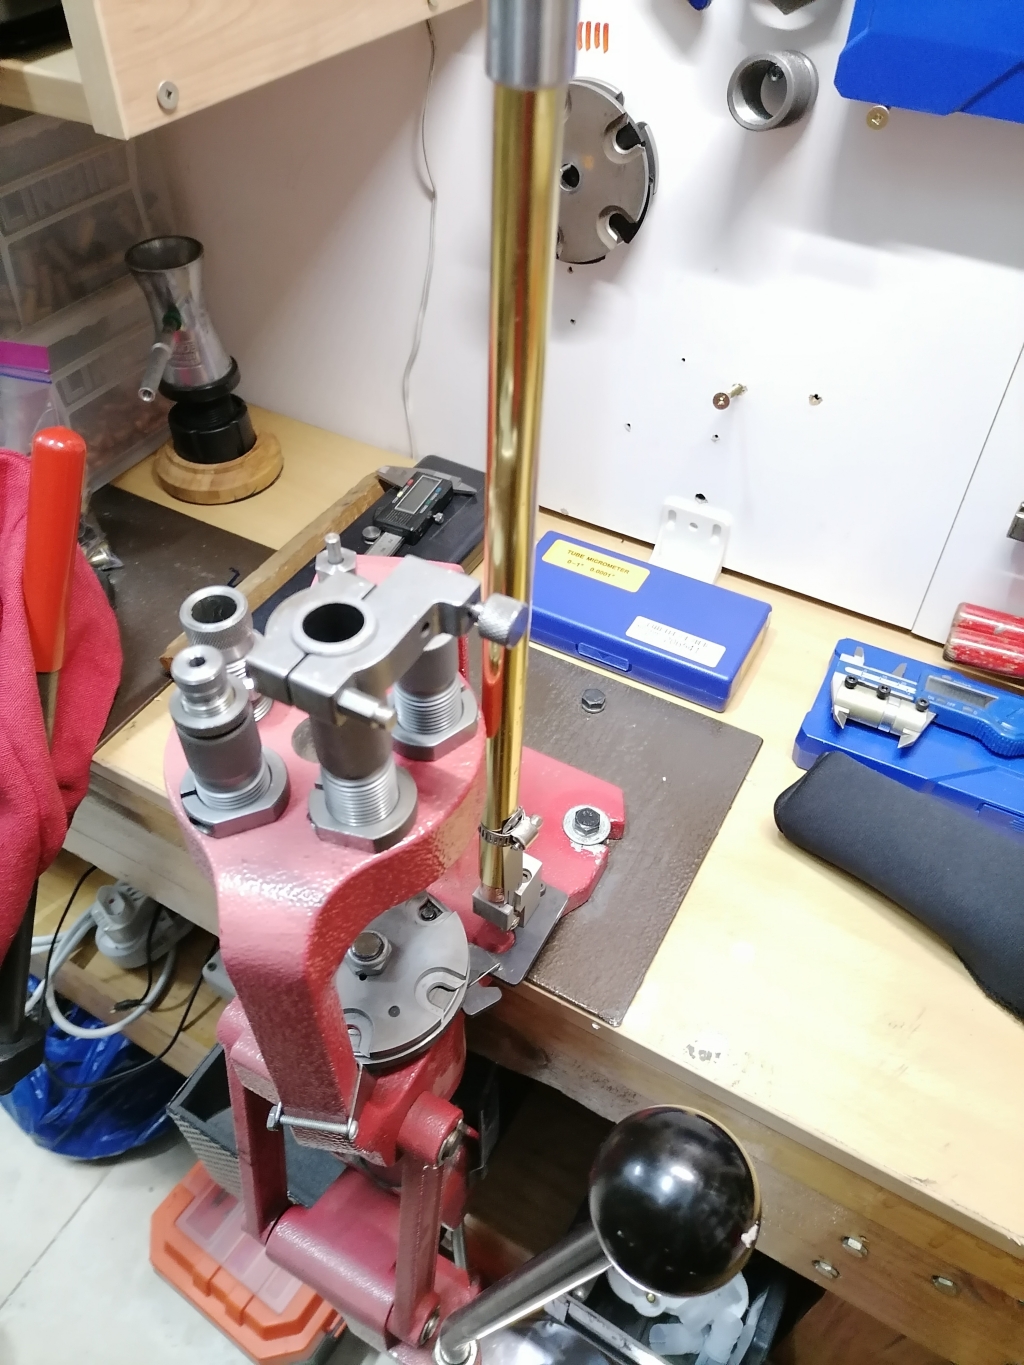
The alignment of the priming cup to the shellplate and alignment to the primer tube, are critical for proper priming function.
First, completely remove the priming assembly from the press by removing the two bolts holding the primer block plate to the press frame. You need to keep the priming tube and tube housing in place in the priming block.
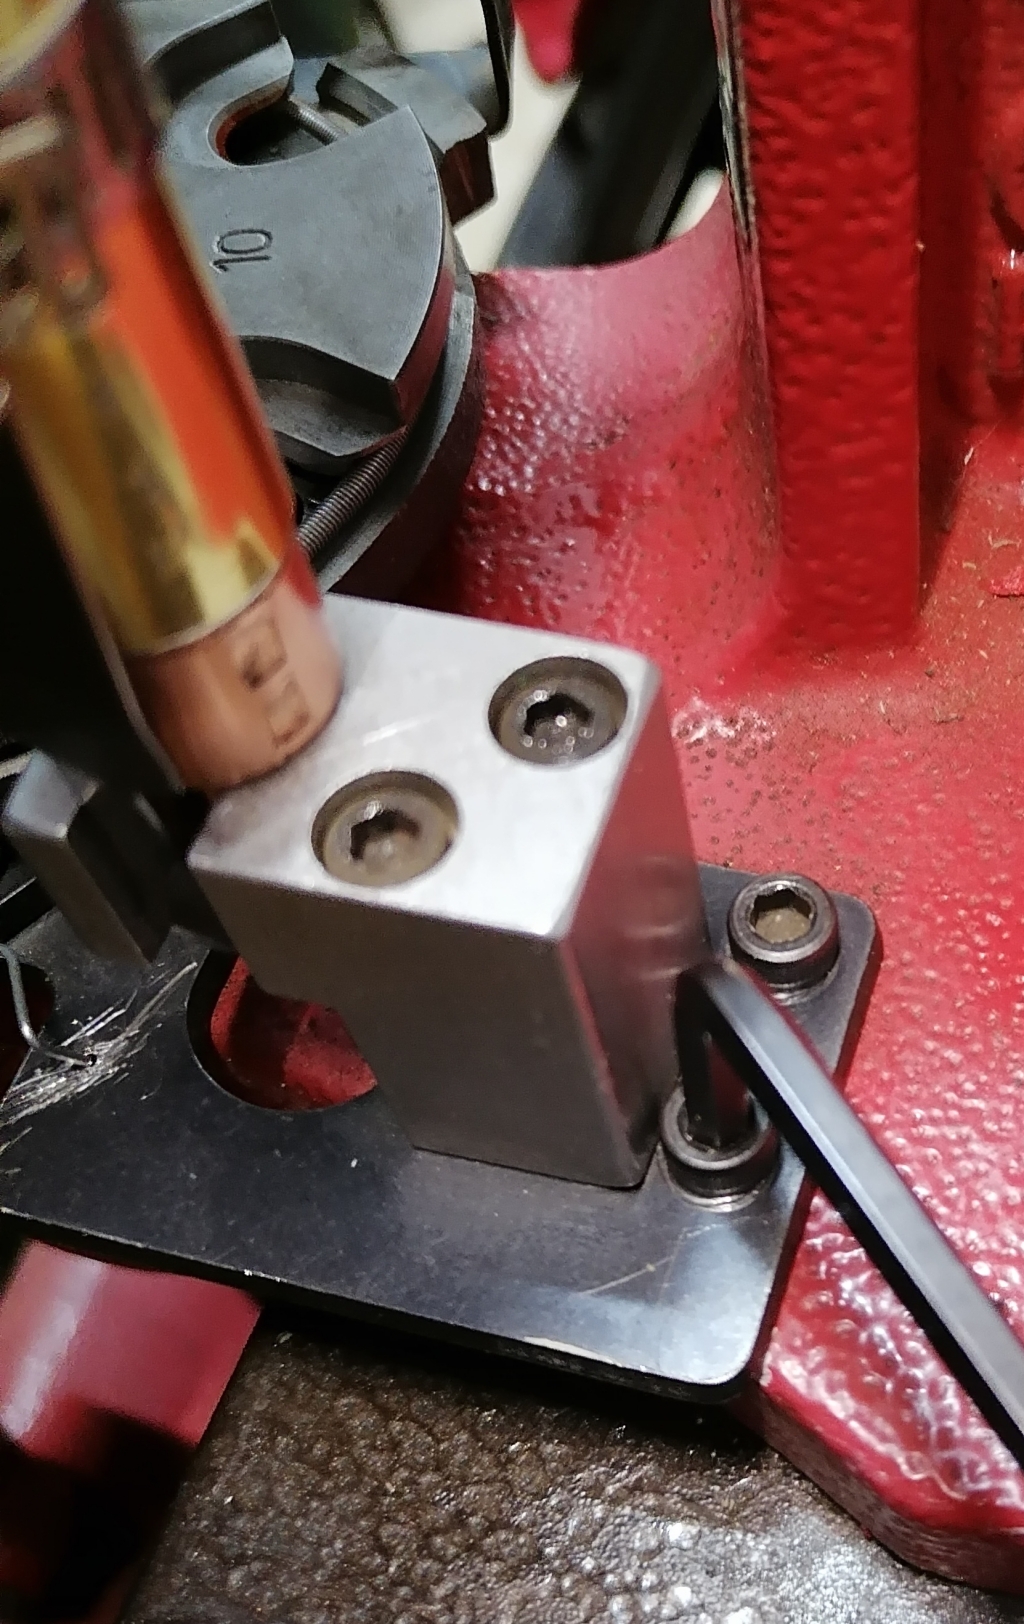
If you are performing this exercise, the priming is not working, so it's possible the primer cup is not centered under the priming tube, and a primer is unable to drop into the cup, as it rides on one of the edges of the primer cup, preventing it falling in.
To center the primer cup under the primer tube, it goes without saying you need good eyes, or good glasses for your eyes - loosen the two bolts in the primer block that hold the primer block to the primer block plate.
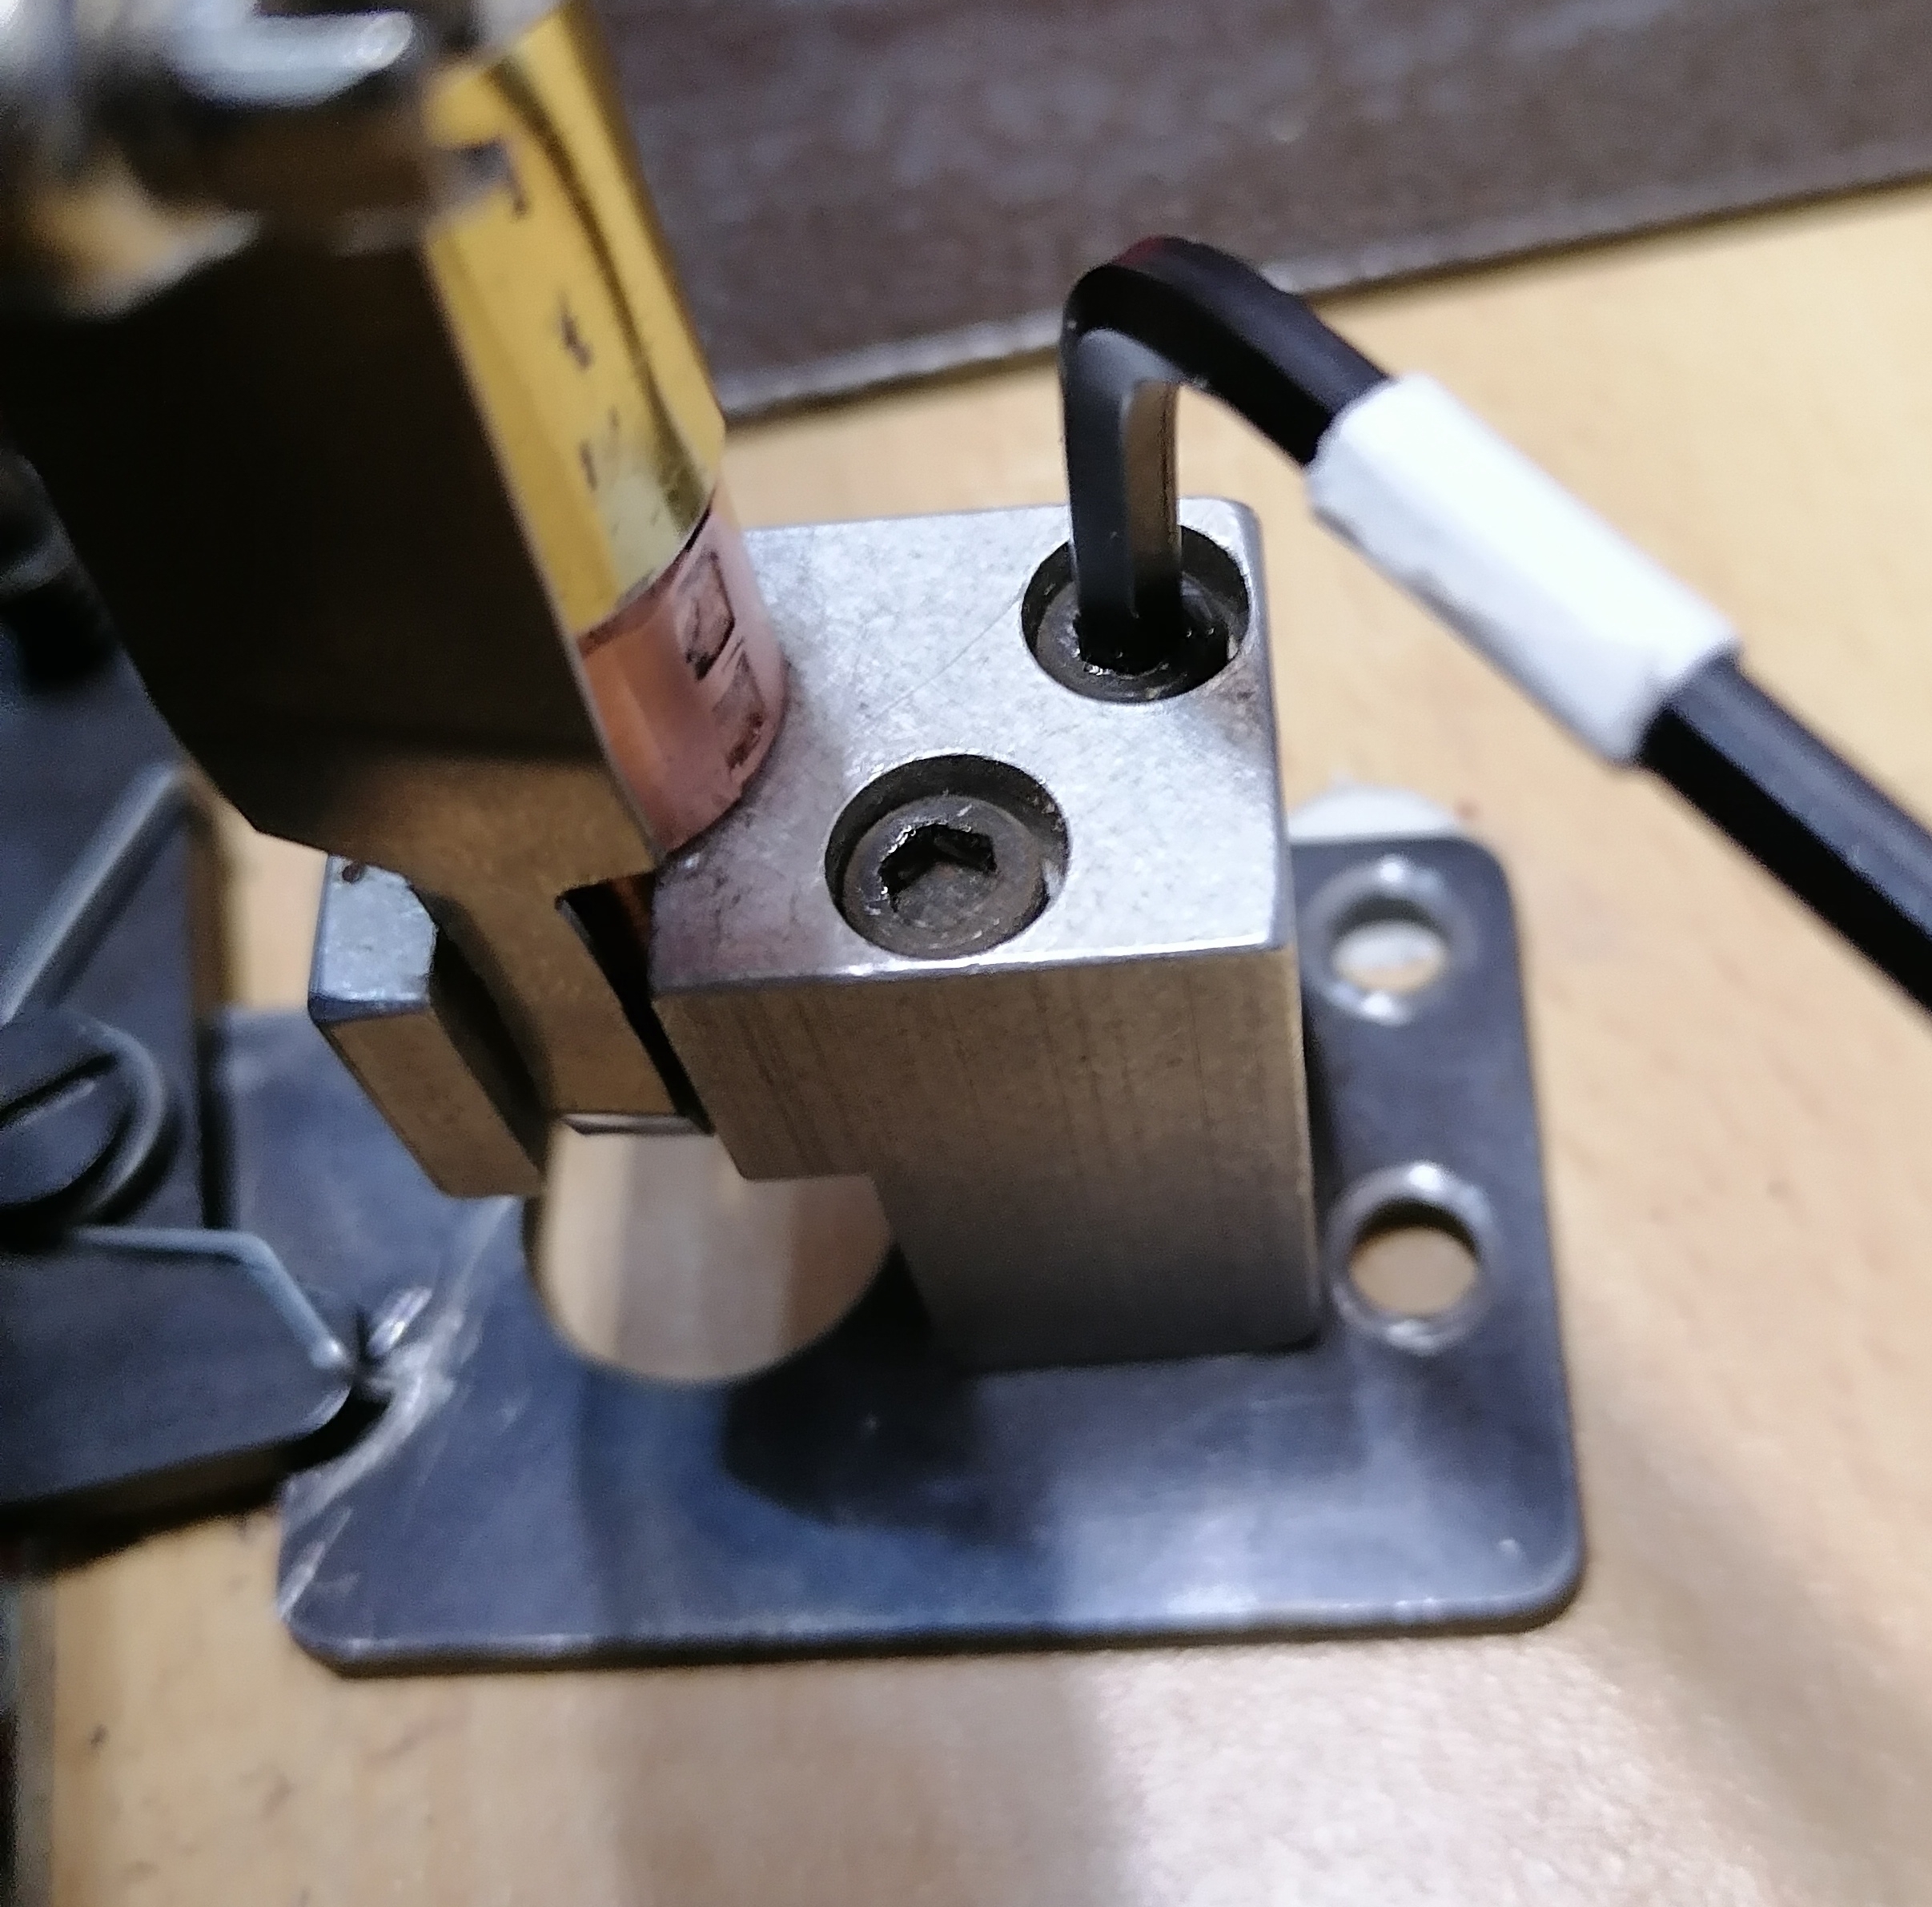
There is a bit of clearance in those bolt holes, enough to get the primer cup aligned to the primer tube. Move the block slightly against the primer block plate, till the cup aligns with the primer tube.
Manipulate the priming arm to describe it's arc to the priming tube, and check that the priming cup is centered under the priming tube.
Check the alignment on the x-axis.
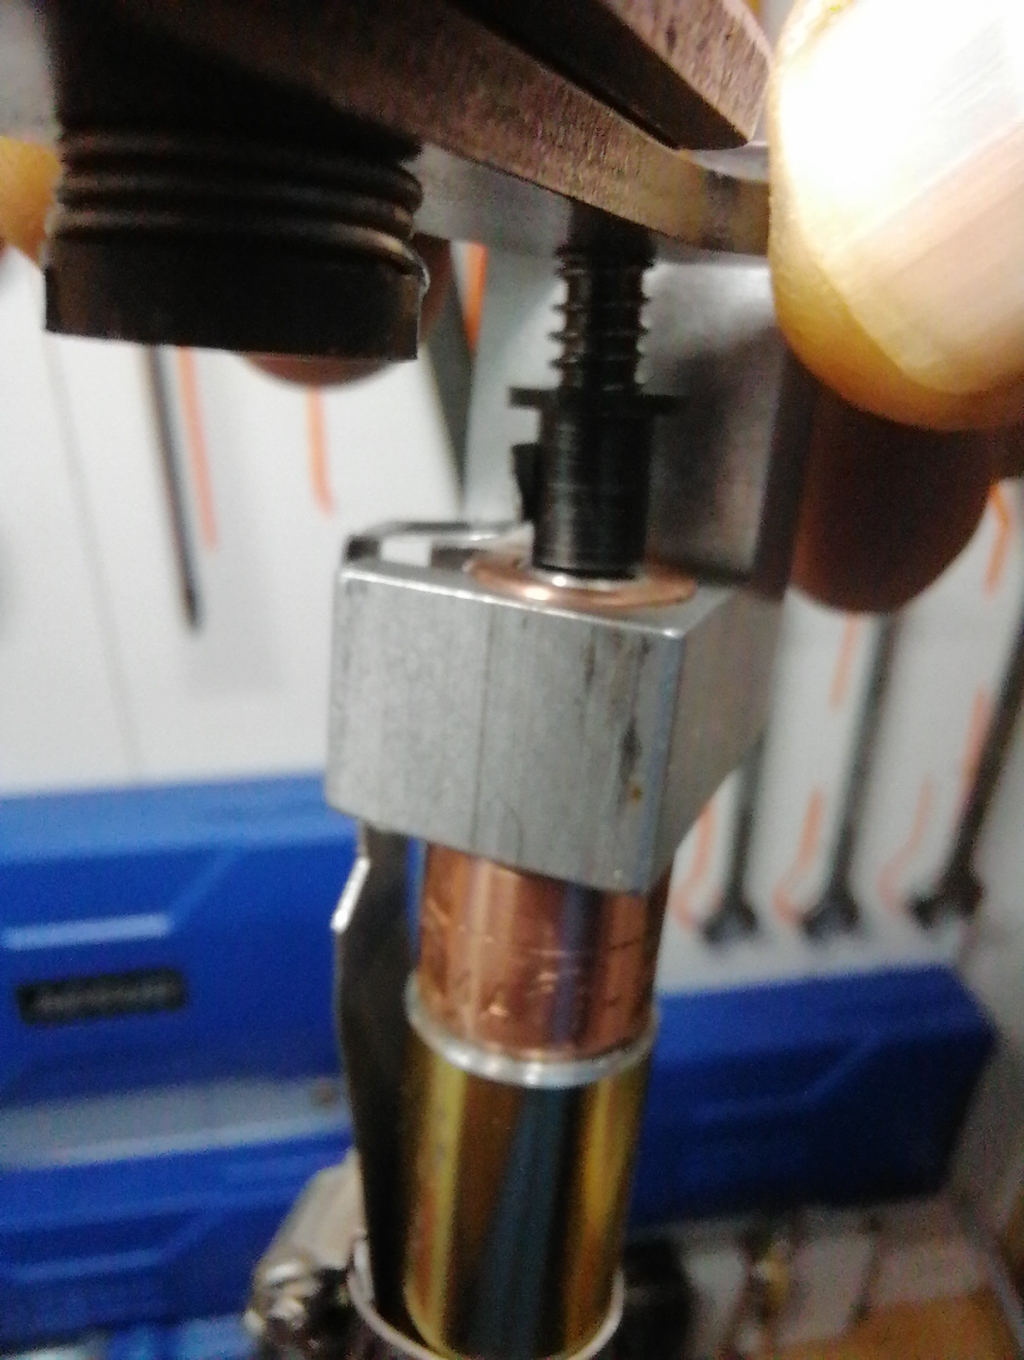
Check the alignment on the y-axis.
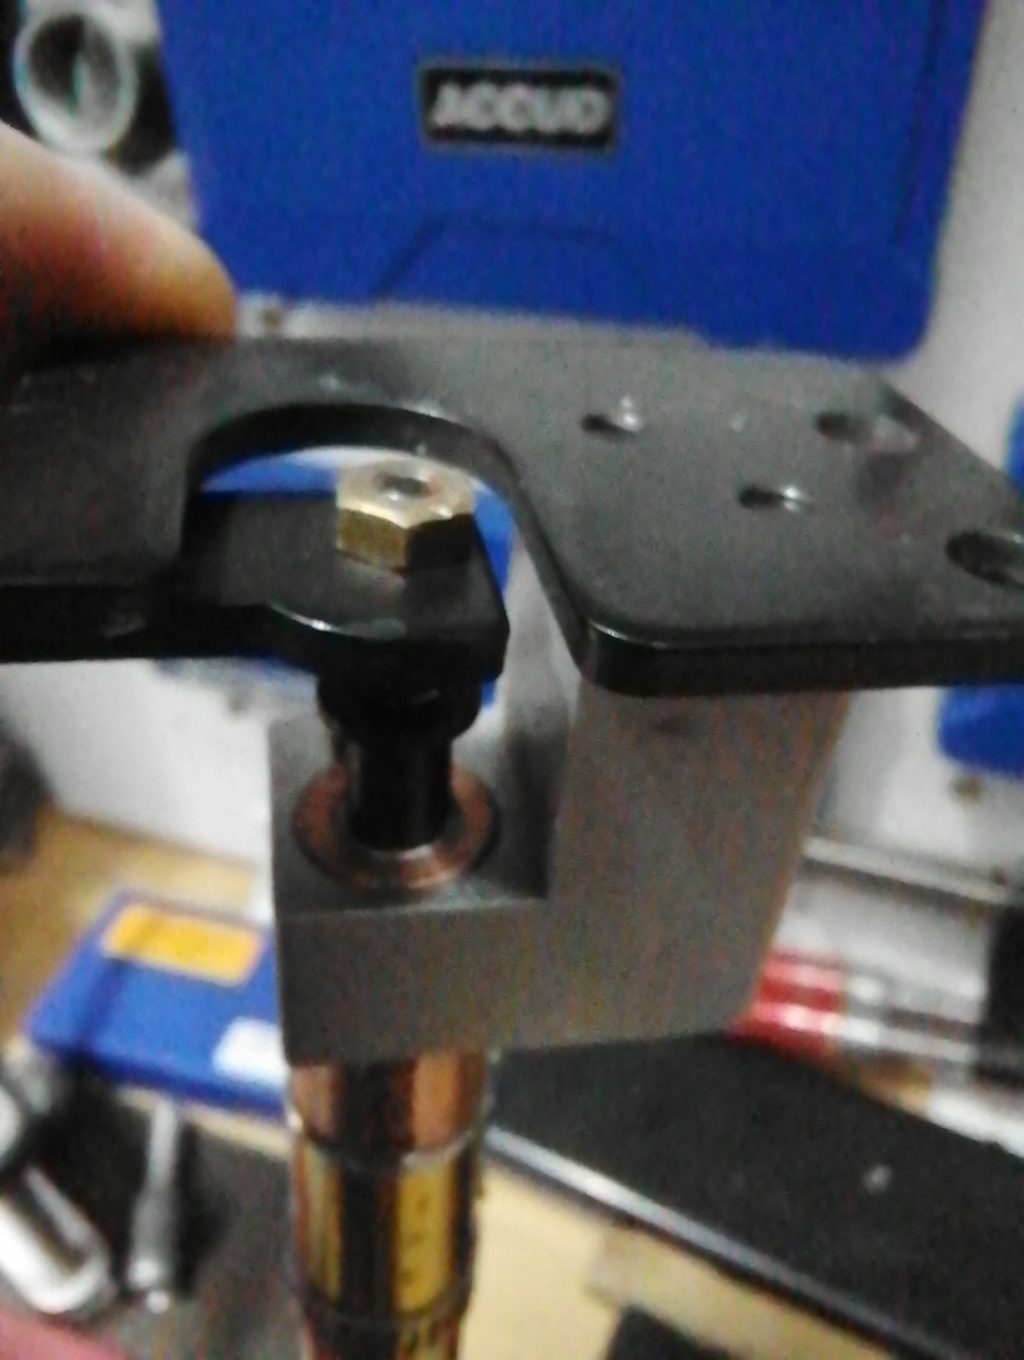
When done, tighten those bolts.
While at this point, consider the effect of a primer punch size change. The other primer size punch might sit slightly differently on the primer arm, affecting this alignment of the cup to the tube, so when you change primer punches, you should re-check this alignment. This is why the Hornady Pro-Jector best serves as a dedicated small or large primer press, but does not lend itself conveniently to both.
While you're looking at things from the underside, check if the retaining nut is in place on the primer punch pin threads, under the priming arm. It's a lock nut for the primer punch, if it's missing, you should get one and fit it there. It keeps the primer punch tight on the primer arm, preventing wobble, which can cause priming problems.
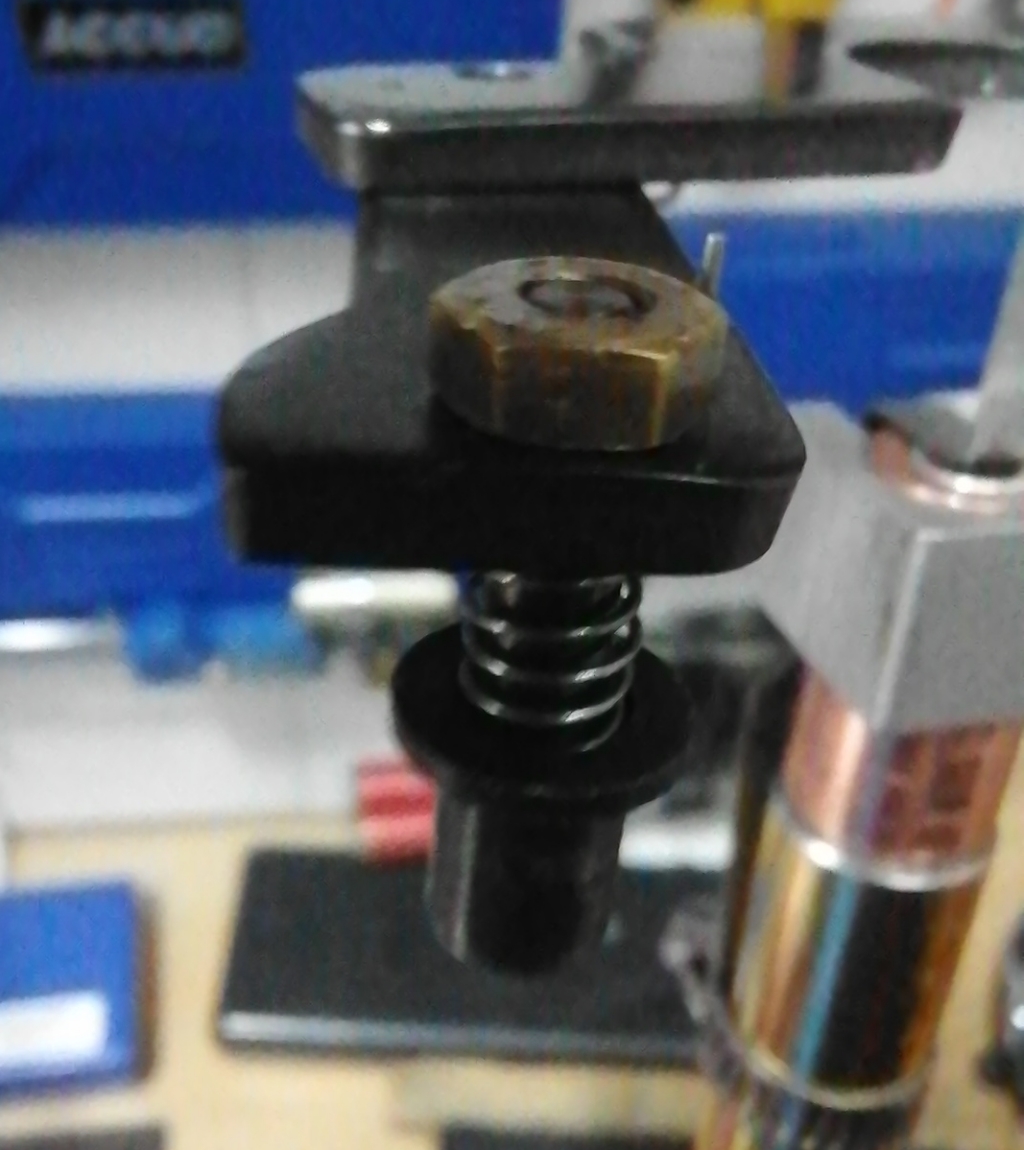
Fit the priming assembly back on the press, without the bolts being tight, just with the slack taken off. Take care not to damage the primer cup - if it is bent out of shape it won't fit primers.
Carefully position the primer cup to fit in it's hole with the ram lowered. While the ram is lowered, manipulate the primer block plate against the frame, and see how the primer punch position changes in the hole.
Priming puch all the way left.
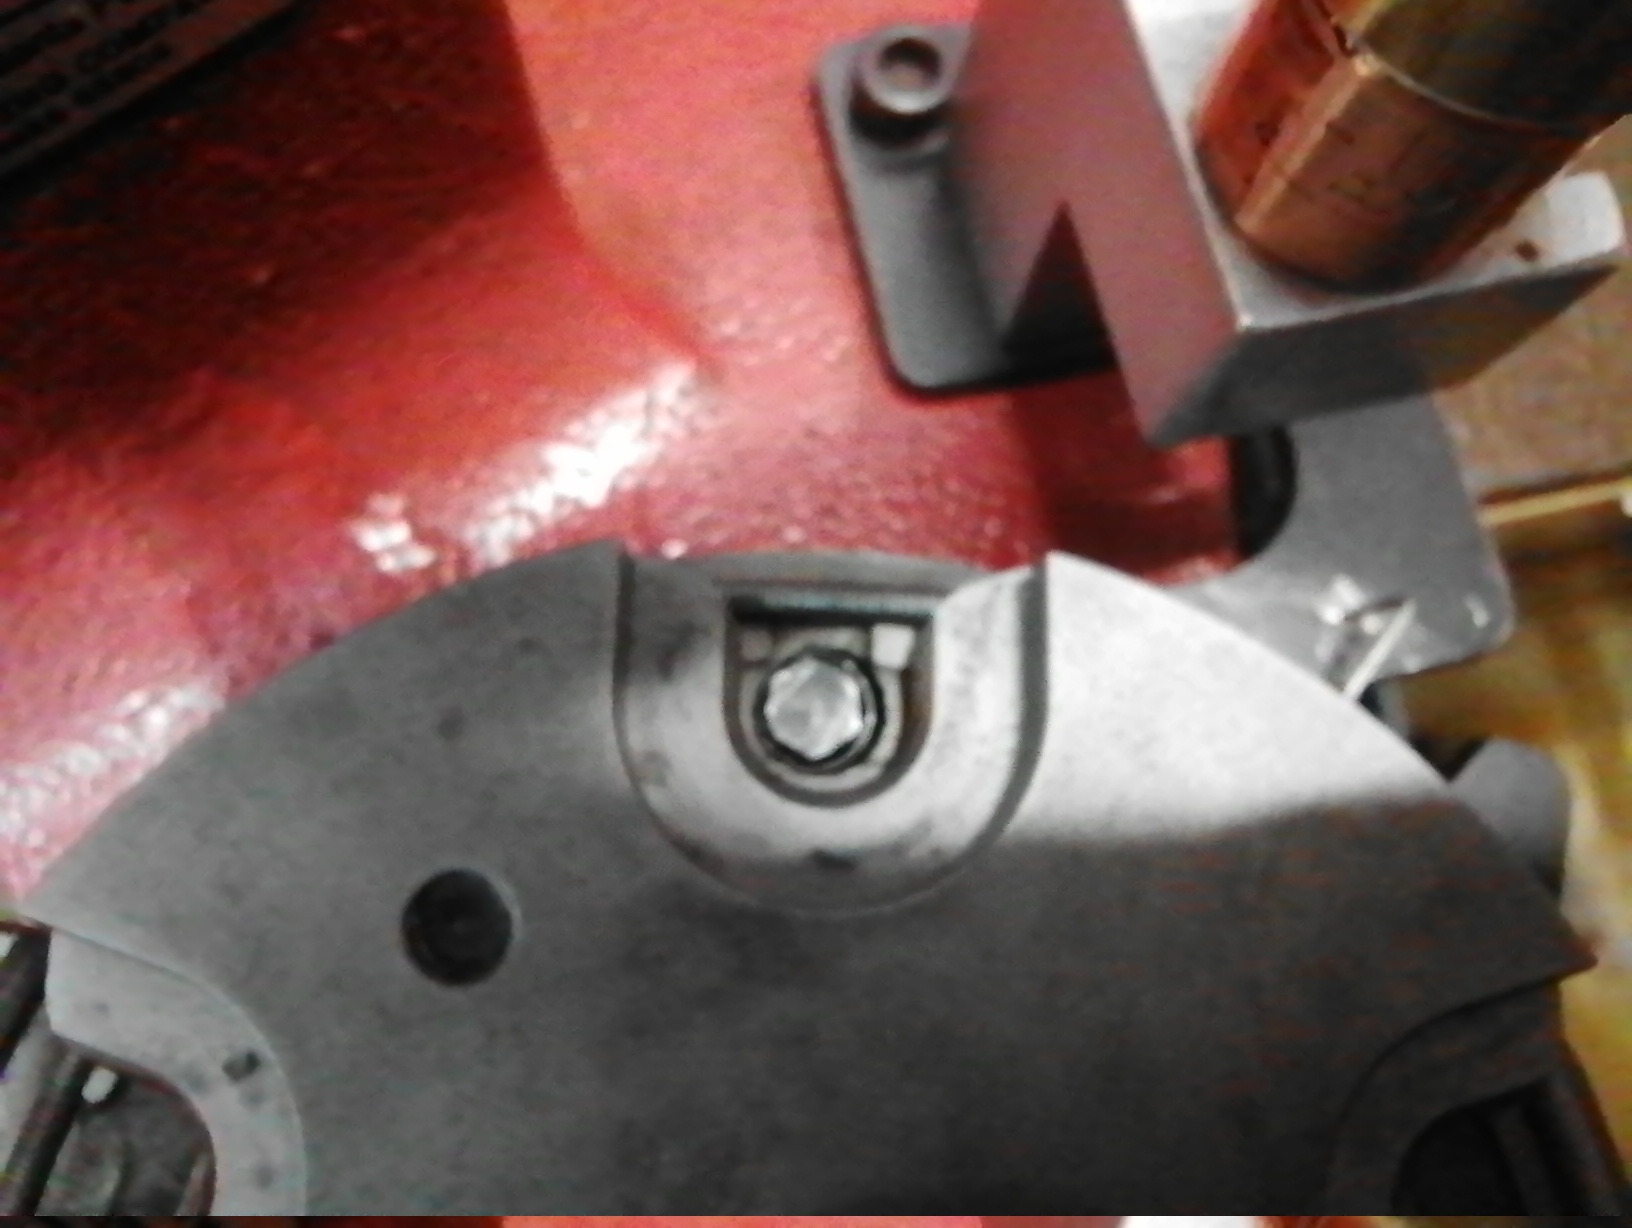
Priming puch all the way right.
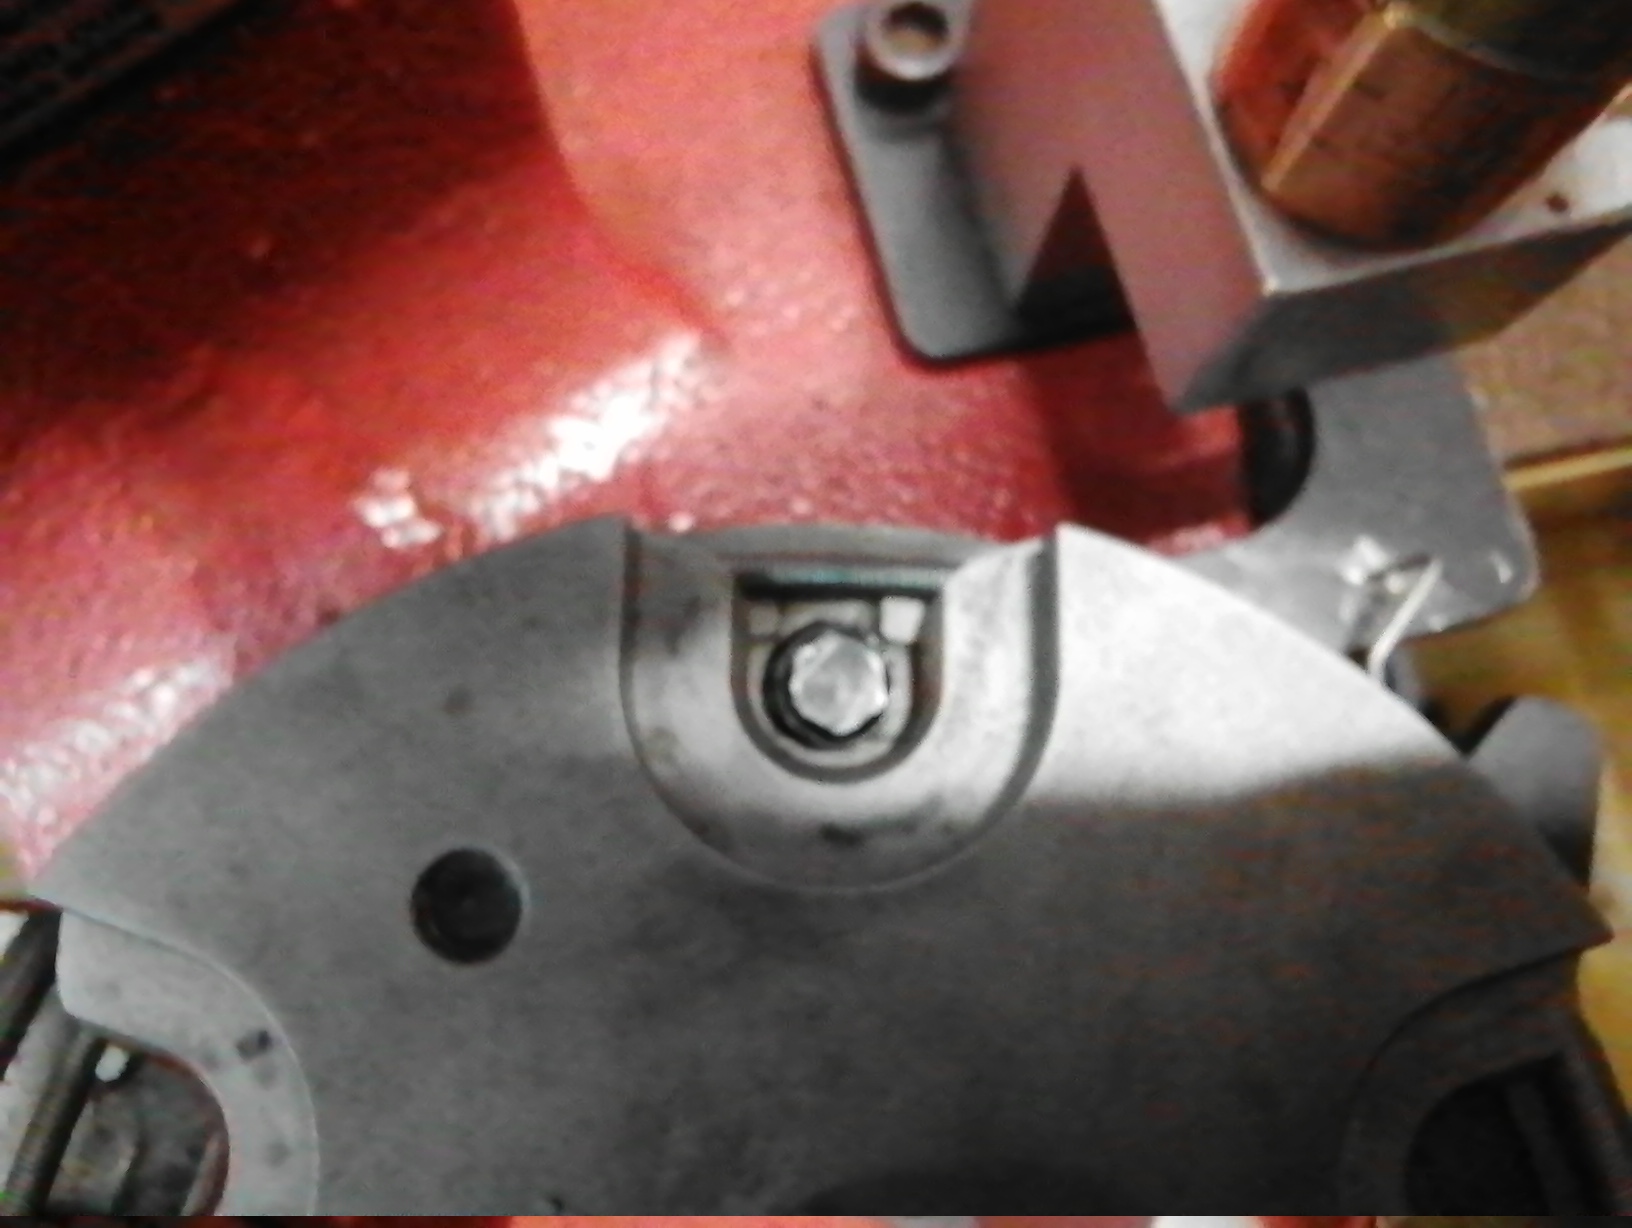
The priming punch must center in the hole.
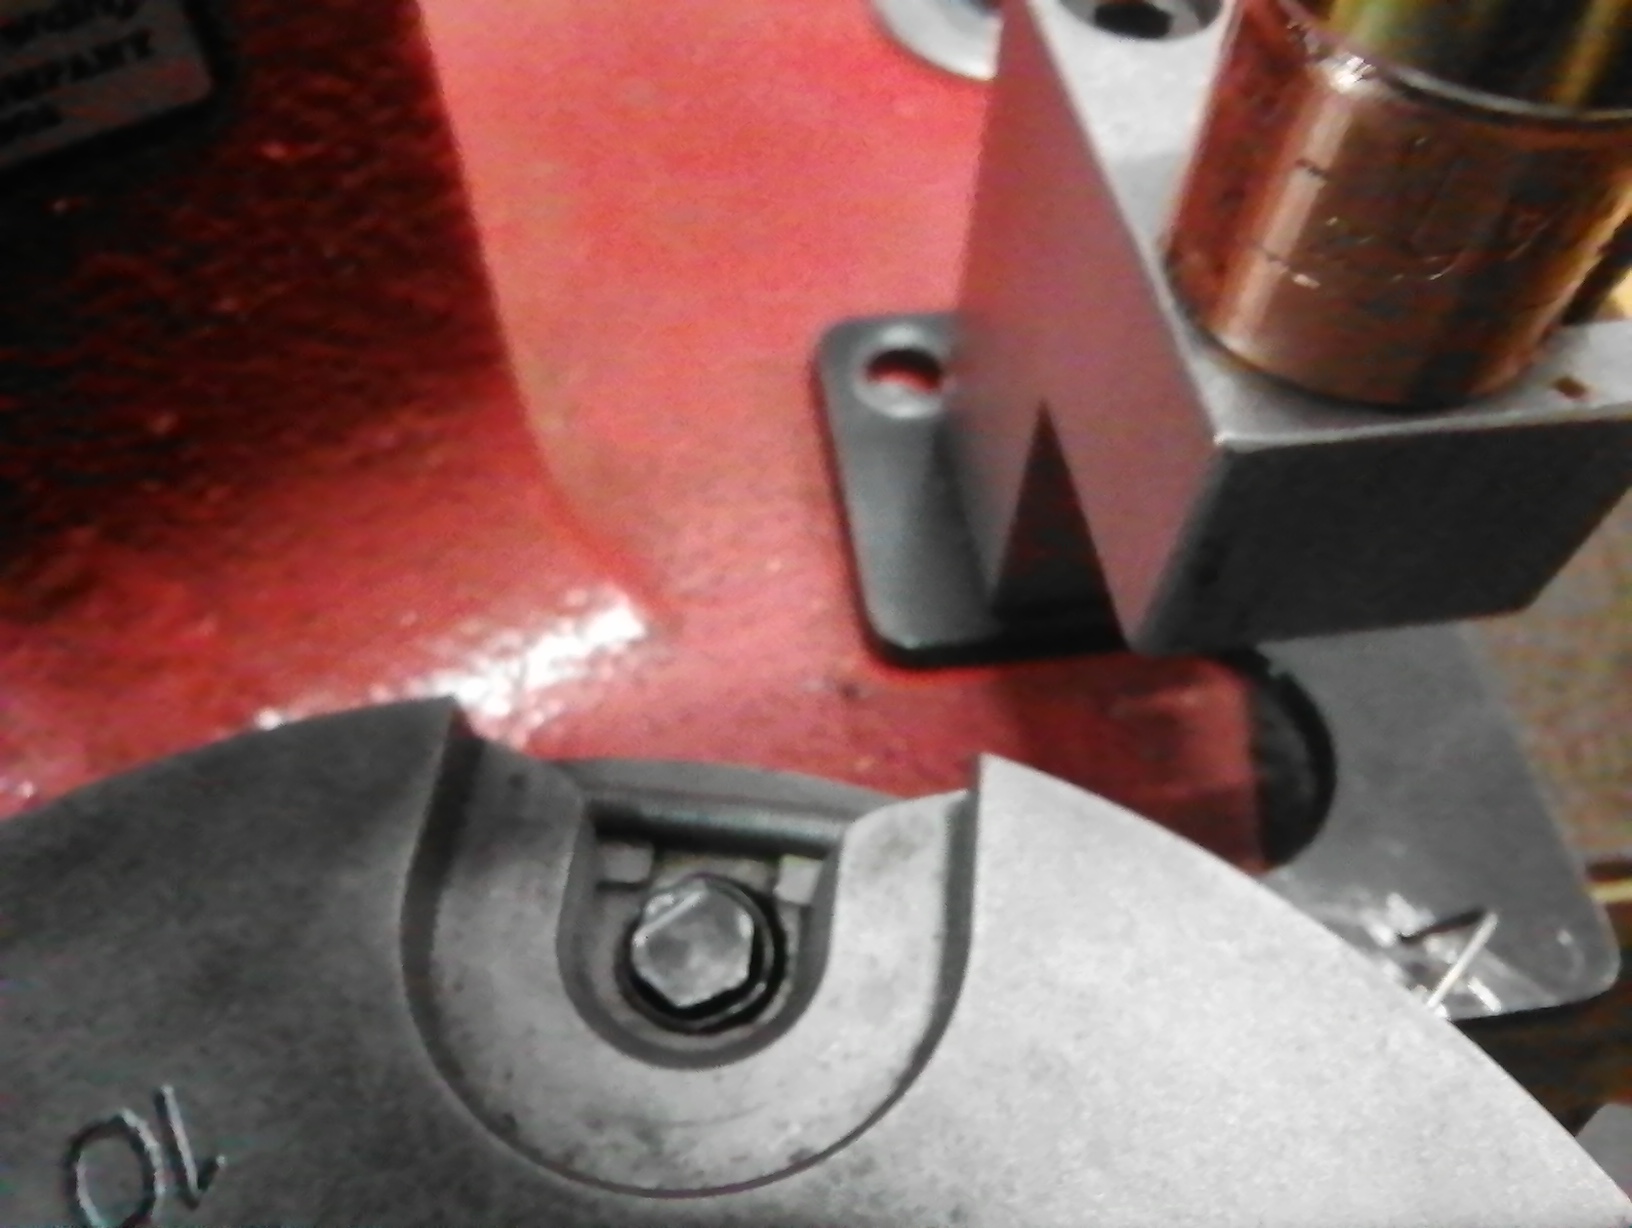
When the primer punch is center in the hole, tighten the two bolts in the frame.
Now the priming parts are correctly aligned, and all that remains is the primer arm actuator.
Test the assembly by putting a few primers in the tube, and cycling the press. At this point, you may find that the primer arm does not travel far enough to move the priming spring completely out of the way for a primer to drop, or moves it too far. This is easily fixed by adjusting the primer arm actuator bolted to the press lower body.
With the ram fully raised, loosen the two bolts holding the primer arm actuator.
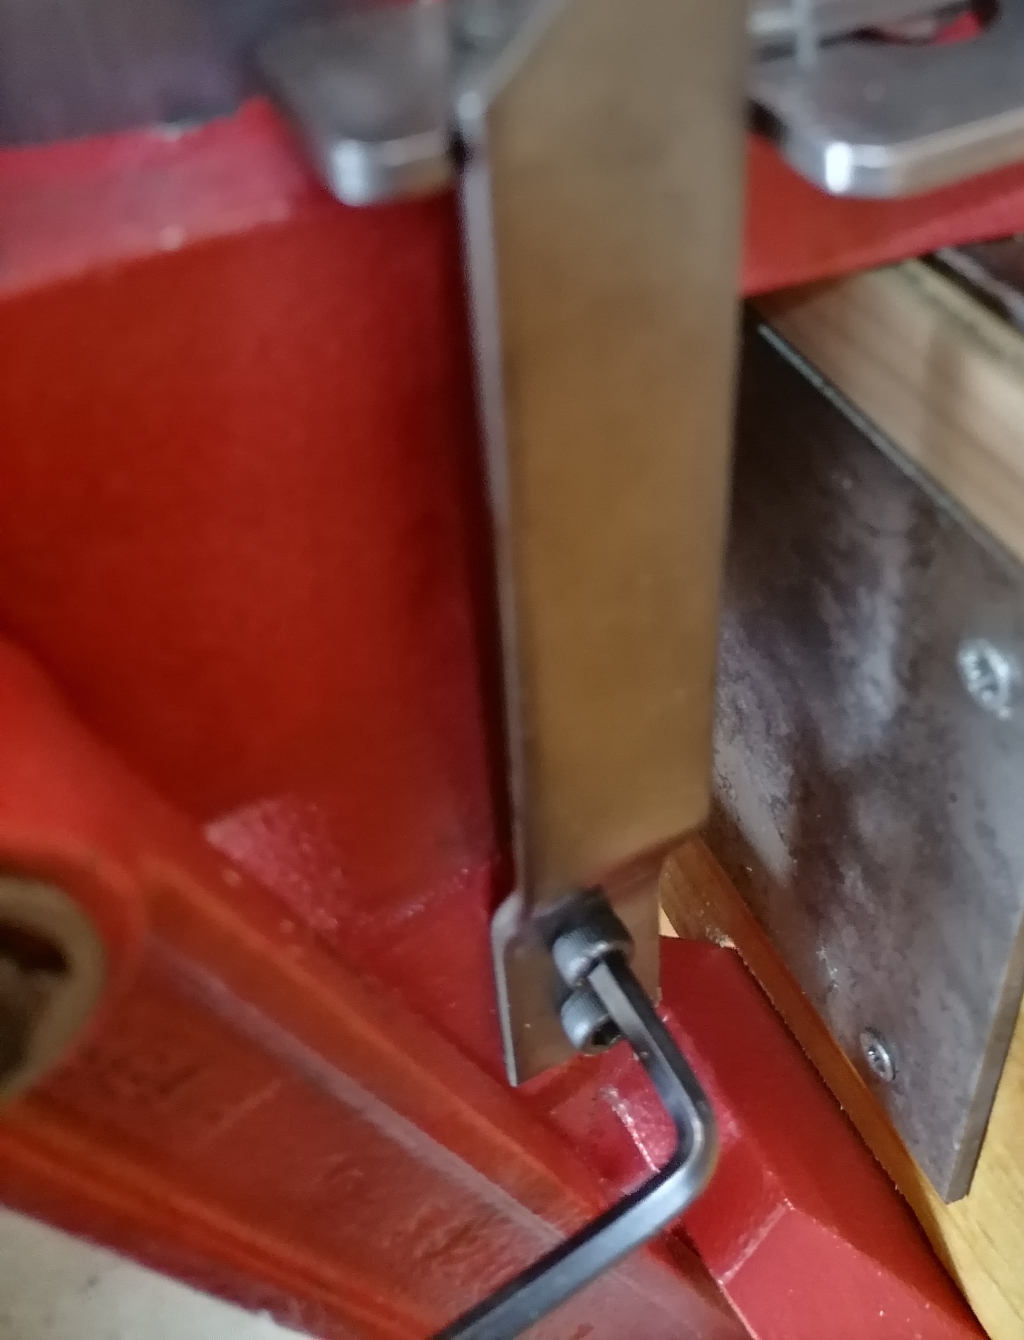
Move the actuator until the primer cup moves far enough under the primer tube, then tighten the actuator bolts. It needs to move a very small amount.
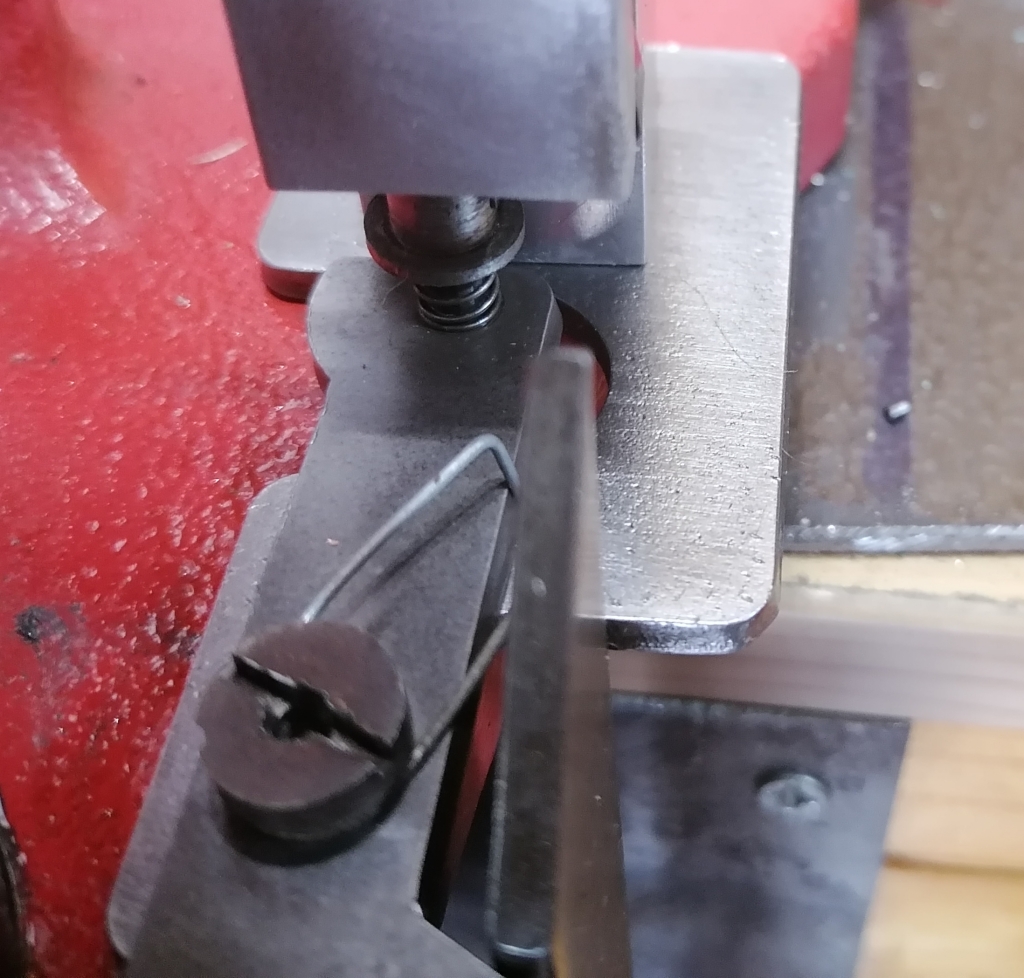
At this point, if there is still a problem, it's not one that I've encountered. You are welcome to get in touch with me via the mail icon at the top right, and I will try and assist.


